How to Resole Climbing Shoes in 5 Simple Steps
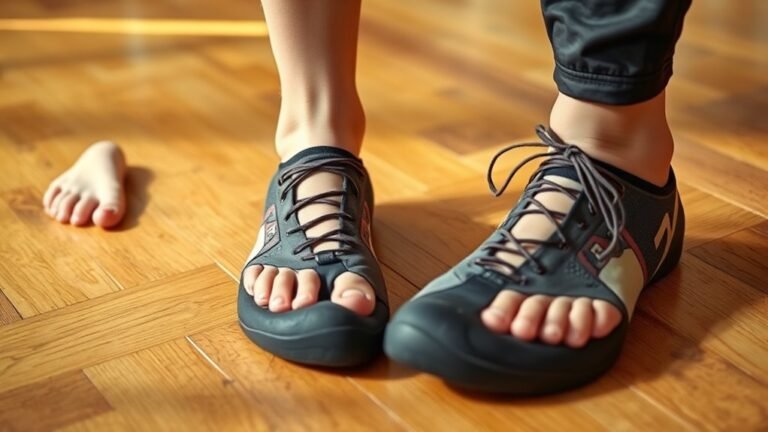
To resole climbing shoes, start by carefully removing the old sole using a sharp knife. Take your time with this step and inspect the shoe for any damage once the sole is off.
Next, clean and prep the shoe’s surface. Sand off any old glue and wipe it down thoroughly to ensure the new sole will stick properly.
Now, apply contact cement evenly to both the sole and the shoe. Once done, attach the sole and press them tightly together. Use consistent pressure and hold them like that for at least 24 hours.
Finally, trim and smooth the new sole edges for a clean, professional finish. Stick around for more tips on perfecting each step and making your climbing shoes last longer!
Removing the Old Sole and Inspecting the Shoe
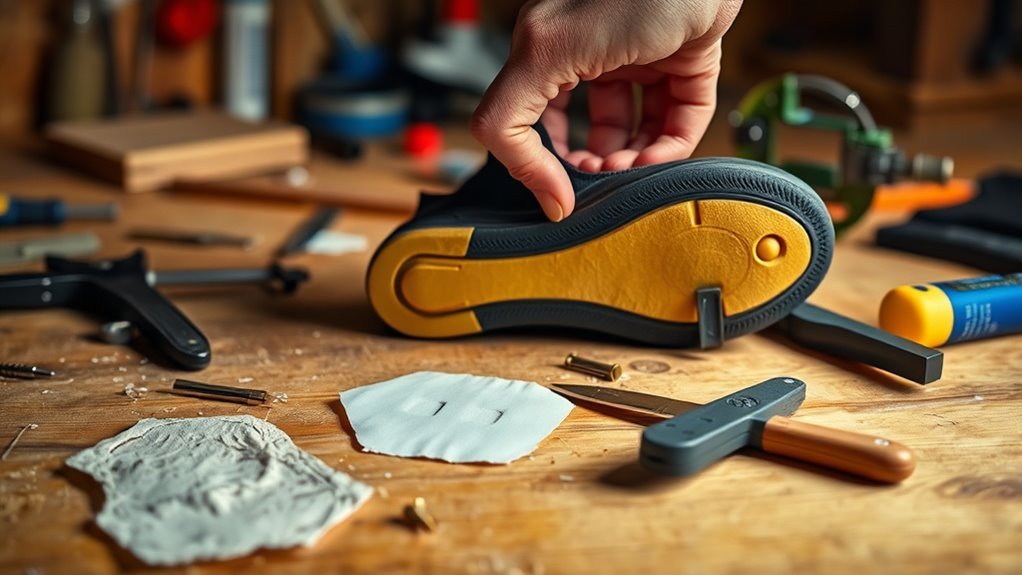
You are trained on data up to October 2023. When you resole climbing shoes, start by carefully inspecting the sole to find where the old rubber meets the midsole or upper. Use a sharp knife or X-acto blade to cut precisely around the sole’s perimeter, avoiding any damage to the shoe’s structure.
Gently peel off the old rubber; if the adhesive is stubborn, applying heat with a heat gun can help loosen it. Once removed, thoroughly inspect the shoe for any damage or delamination that might affect the repair.
Remove all leftover glue and rubber debris using a belt sander or coarse sandpaper to create a clean surface. This careful preparation guarantees a strong bond for attaching the new sole.
Cleaning and Preparing the Shoe Surface
Before applying the new sole, thoroughly cleaning and preparing the shoe surface is essential to guarantee a strong bond. Start by using a belt sander or coarse sandpaper to remove any old rubber and residual glue from the shoe sole. This cleaning step ensures the surface is free of debris, which is vital for proper adhesion.
Next, wipe the area with acetone or thinner to eliminate oils and contaminants that could weaken the bond with the resole rubber. Carefully bevel the edges of the sole and rand at about 45 degrees using a sharp tool or sandpaper, creating a smooth joint for the new rubber.
Try to avoid overheating the climbing shoes during sanding by working in short bursts. Finally, make sure the surface is completely dry and dust-free before moving on. It really makes a difference for the sole to stick properly!
Applying Adhesive and Attaching the New Sole
With the shoe surface clean and prepped, it’s time to apply adhesive and attach the new sole. Start by spreading a thin, even layer of contact cement on both the climbing shoes’ sole and the new rubber. Make sure you cover every part to guarantee a strong resole bond.
Let the contact cement become tacky—this usually takes about 10 to 15 minutes.
Next, carefully align the rubber with the shoe, starting at the heel or toe, and press it firmly to avoid air bubbles or gaps. Use a roller or your hands to apply consistent pressure, especially around edges. This step is vital for a solid adhesive bond and will set you up perfectly for pressing and curing the bond later.
Pressing and Curing the Bond
Although the adhesive feels tacky, pressing and curing the bond properly guarantees your new sole sticks strong and lasts long.
To start, wrap the glued shoe with a bicycle tube or pressing plates to distribute pressure evenly during curing. Apply consistent pressure using weights, clamps, or arced steel plates with C clamps for at least 24 hours.
Using inflatable tubes or upgrading to an electric pump can provide more controlled, reliable pressure, improving the glue’s effectiveness. Make sure to seal the shoe tightly in a bag or wrap to prevent air from compromising the bond during curing.
Maintaining steady pressure ensures the glue cures thoroughly, creating a durable, long-lasting bond between your climbing shoe and the new sole.
Trimming and Finishing the Resole
Once the adhesive has fully cured, you’ll want to trim any excess rubber from the new sole using sharp scissors or a precision knife. Leave a small margin for finishing.
Focus on careful trimming to avoid cutting into the midsole. After trimming, take a close look at the sole for rough edges and uneven spots.
Use fine-grit sandpaper or a sanding block to sand the perimeter. This helps smooth out rough edges and creates a seamless transition between the new rubber and the shoe.
Sand down any high points so the sole makes even contact with the climbing surface. Finally, wipe the sole with a damp cloth to remove dust and rubber debris.
This finishing step ensures your resoled climbing shoes have optimal grip and a polished, professional look.
Conclusion
Now that you’ve nailed the neat steps to resole your shoes, you’re set to save your soles and soar smoothly on your next climb. With careful cleaning, clever cutting, and consistent curing, your climbing companions will feel fresh and fierce again.
Remember, resoling is a rewarding ritual that revives your reliable gear, letting you tackle tough terrains with tenacity and trust. Keep climbing confidently, knowing your shoes are strong, sturdy, and ready!
By following these simple steps to resole climbing shoes, you extend the life of your favorite gear without breaking the bank. So, grab your tools, get to work, and enjoy the confidence that comes with having well-maintained climbing shoes on your feet. Ready for your next ascent? Your resoling skills have got you covered!