How to Build a Home Climbing Wall With DIY Ideas in 3 Easy Steps
To build a home climbing wall in three easy steps, start by designing your wall’s angle and size based on your available space and skill goals. Think about whether you want a vertical wall or something with a bit more overhang for a challenge. This planning stage is key to creating a climbing wall that fits your needs perfectly.
Next, gather quality materials like ¾-inch plywood and sturdy lumber, and make sure your site is prepped for safe construction. Having everything ready before you start will save you time and headaches later on.
Finally, assemble a strong frame and securely bolt the plywood panels in place. Drill holes for T-nuts carefully, then mount climbing holds tightly to ensure stability. Keep going, and you’ll find useful tips along the way to make your wall safe, durable, and, most importantly, fun to climb!
Key Takeaways
- Choose an overhang angle between 20° and 60°. Measure your space carefully to plan the wall dimensions and design your climbing routes.
- Gather quality materials like ¾-inch exterior plywood, 2×4 lumber, and secure fasteners before you start construction. Having everything on hand makes the process smoother.
- Build a sturdy frame with 2×4 supports spaced 16 inches apart. Then, mount the plywood panels securely using bolts every 6 inches for strong support.
- Drill evenly spaced holes in the plywood for T-nuts. This allows you to place climbing holds flexibly and customize your routes.
- Attach climbing holds tightly to the wall. Don’t forget to perform thorough safety checks to ensure your wall is stable and durable before you start climbing.
How to Design Your Climbing Wall: Angles, Size, and Structure
When designing your climbing wall, start by choosing the angle that best fits your training goals—typically between 20° and 60° overhanging. Begin with precise measurements of your available space to determine the wall’s dimensions, making certain it fits comfortably.
Use framing and support beams cut at the correct wall angle, employing a calculator or trigonometry for accuracy. Your support structure must provide solid structural support for safety and durability.
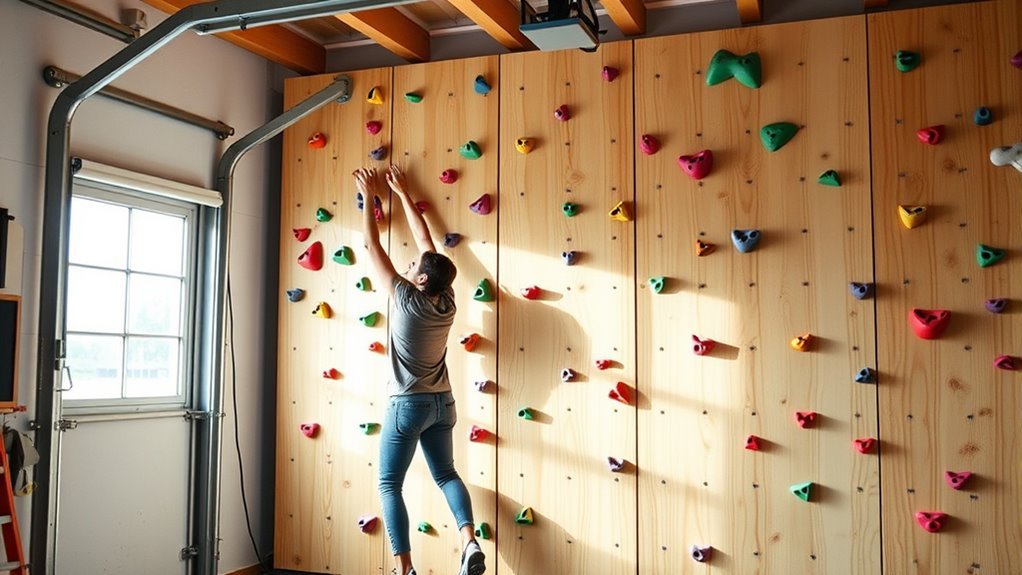
Incorporate plywood panels onto the framing to create the climbing surface. Plan your route design by including flat sections, overhangs, and protrusions to add variety and challenge.
Always consider how your overhangs affect the overall stability. Thoughtful design around the support beams and framing ensures your wall is both functional and safe for diverse climbing experiences.
Gather Materials and Prepare Your Climbing Wall Site
After finalizing your climbing wall’s design, the next step is to gather the right materials and prepare the site for construction. First, measure the available space carefully, considering clearance for climbing and fall zones. This will help you plan your wall’s dimensions accurately.
Choose quality materials like ¾-inch exterior-grade plywood and sturdy lumber. You can source them from local hardware stores or reclaimed wood suppliers to manage costs.
Prepare the site by clearing debris and ensuring a level surface. Also, check for proper structural support, especially if you’re mounting the wall on an existing structure.
Gather essential tools such as drills, saws, measuring tapes, and carpenter’s squares. These will make precise cuts and assembly easier.
Proper leveling and support are vital to create a safe and durable climbing wall in your designated space. Taking the time to prepare well will pay off in the long run.
Assemble Your Climbing Wall Frame, Mount Holds, and Ensure Safety
Although assembling your climbing wall frame requires careful attention, you’ll find the process straightforward if you follow the right steps. Start by constructing the climbing wall frame with 2×4 lumber, attaching vertical supports at 16-inch intervals for stability using nails or screws.
Next, securely mount plywood panels to the frame with bolts and screws every 6 inches, ensuring they’re flush and aligned. Then, drill holes in the plywood to install T-nuts, creating secure anchors for your climbing holds.
Focus on these key tasks:
- Attaching supports properly for maximum stability
- Drilling holes evenly to fit T-nuts
- Mounting holds tightly with bolts and screws for safety
Frequently Asked Questions
What Types of Climbing Holds Are Best for Beginners?
You’ll want larger, jug-shaped holds because they’re easy to grip and great for building confidence. Slopers and crimps are tougher, so start with simple, positive holds that help you practice balance and technique comfortably.
How Do I Maintain and Clean My Climbing Holds?
When Jake noticed his holds getting slippery, he scrubbed them with a soft brush and warm soapy water. You should clean your holds regularly, avoid harsh chemicals, and let them dry completely to keep grip and safety intact.
Can I Build a Climbing Wall Outdoors in All Weather Conditions?
You can build an outdoor climbing wall, but you’ll need weather-resistant materials and proper sealing. Expect to maintain it regularly to prevent damage from rain, sun, and temperature changes, ensuring safety and durability year-round.
What Are the Best Safety Mats to Use Under a Climbing Wall?
Did you know 70% of climbing injuries happen from falls? You’ll want thick, shock-absorbing mats like EVA foam or thick rubber tiles. They cushion your fall, reduce impact, and keep you safer during every climb.
How Do I Create Varied Difficulty Levels on the Same Wall?
You create varied difficulty by changing hold sizes, shapes, and spacing. Use different routes with color-coded holds, adjust angles or add volumes. Mixing overhangs and vertical sections challenges you, keeping climbs fun and progressive for all skill levels.
Conclusion
Building your own home climbing wall is easier than you think! With just three simple steps, you can create a fun and challenging space to improve your skills anytime.
Did you know that indoor climbing has grown by over 60% in popularity in recent years? This means more people are discovering the joy and benefits of climbing right at home.
So, grab your tools and start building your personalized wall today—you’ll love the results! Creating a DIY home climbing wall not only boosts your fitness but also adds a unique feature to your living space. Whether you’re a beginner or an experienced climber, having a climbing wall at home offers convenient practice and fun. With a bit of effort and creativity, your home climbing wall can become the go-to spot for training, improving strength, and enjoying the thrill of climbing anytime you want.