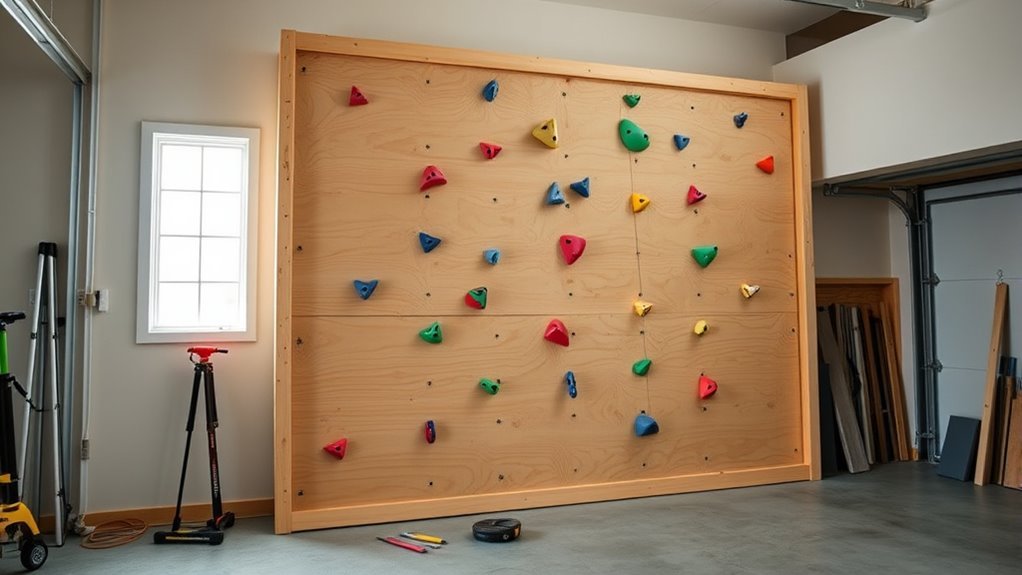
How to Build a Home Climbing Wall With DIY Plans in 5 Easy Steps
To build a home climbing wall in 5 easy steps, start by choosing the perfect location. Make sure it has enough height and think about your wall’s angle and layout. Planning these details upfront will help you create a fun and safe climbing experience right at home.
Next, gather all the essential tools like a drill and circular saw. You’ll also need materials such as plywood and sturdy support beams. Having everything ready before you start will make the project go smoothly.
Then, build a solid frame that’s anchored securely to support your wall. After that, cut and prime the plywood panels carefully, so they’re ready to attach. Precision here is key for a strong and safe climbing surface.
Finally, install climbing holds in varied patterns to create different routes. This step not only makes climbing fun but also ensures safety. Keep reading to discover all the details you need for a successful build!
Key Takeaways
– Select a suitable location with enough height, measure accurately, and plan the wall angle between 20° to 50° for your climbing goals.
Make sure the spot you choose fits your space and climbing needs perfectly.
– Gather essential tools like a drill and circular saw, plus materials including exterior-grade plywood, support beams, screws, and T-nuts.
Having everything ready before you start will make the process go smoothly.
– Build a sturdy frame using 2×4 or 2×6 lumber, securing horizontal and vertical supports with bracing and anchoring it to wall studs or floor.
This frame is the backbone of your climbing wall, so take your time to make it solid.
– Cut plywood panels to size, prime with acrylic primer, drill 7/16-inch holes evenly spaced, and attach securely to the frame with screws.
These steps help ensure the panels hold up well and are ready for your climbing holds.
– Install climbing holds with bolts through T-nuts, arrange varied routes, and regularly inspect hardware to maintain safety and stability.
Changing up routes keeps things fun, and checking bolts keeps everyone safe.
Choose the Best Location and Plan Your Climbing Wall
Where should you build your home climbing wall? Start by choosing a climbing wall location with sufficient ceiling height and strong structure support, like a garage or basement.
Take precise measurements of the space, noting width, height, and any obstacles. This helps with accurate space planning and guarantees your wall fits well.
Measure width, height, and obstacles precisely for accurate planning and a perfect climbing wall fit.
Decide if your wall will be mounted to existing walls or free-standing, as this affects installation and stability. Plan the angle design carefully—typically between 20° to 50°—to match your climbing goals and available space.
Finally, prepare a materials list based on your measurements and design, making sure you have everything on hand. Picking the right location and planning thoroughly makes your build safer and more efficient.
Get Your Tools and Materials Ready for the Build
Before you start cutting and assembling, make sure you have all the necessary tools and materials ready. Visit your local hardware store to gather essential tools like a drill, circular saw, and measuring tape.
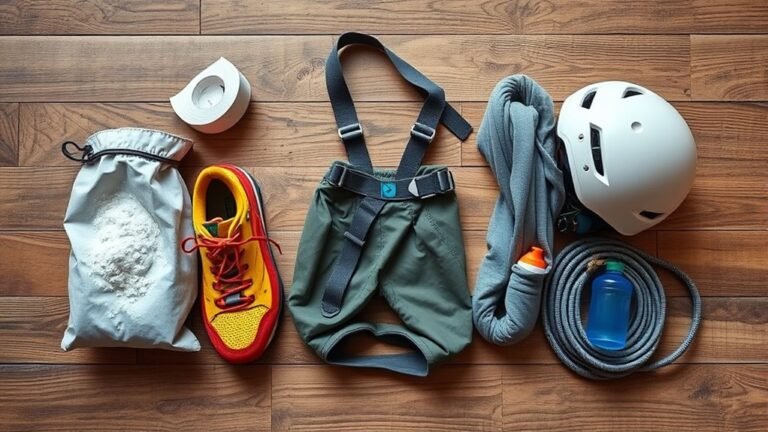
You’ll also need materials such as exterior-grade plywood, sturdy support beams, and plenty of T-nuts for attaching holds. Don’t forget screws and safety gear.
| Tools | Materials |
|---|---|
| Drill | ¾-inch exterior plywood |
| Circular saw | 2×4 or 2×6 support beams |
| Measuring tape | T-nuts and bolts |
| Safety gear | Screws (3-¾” & 1-¾”) |
Having everything on hand guarantees a smooth, efficient build process. It also helps you focus on creating a strong, customizable climbing wall.
Build a Strong Climbing Wall Frame and Supports
With your tools and materials ready, you can start constructing the climbing wall frame using 2×4 or 2×6 lumber. Begin by assembling the horizontal supports, spacing them 16 inches on center, and securely fastening all joints with nails or screws.
Attach vertical support posts at corners and intervals along the frame to evenly distribute weight and prevent wobbling. Use joist hangers and angle brackets for structural reinforcement, especially where horizontal supports meet vertical supports.
Attach vertical posts at corners and intervals with joist hangers and brackets for strong, stable support and reduced wobbling.
Incorporate diagonal bracing between supports to resist lateral movement and enhance rigidity. Finally, anchor the climbing wall frame firmly to existing wall studs, ceiling joists, or the floor using lag bolts or heavy-duty screws.
This combination of support posts, bracing, and wall anchoring guarantees a strong, stable climbing wall frame built from quality lumber. You’ll have a solid structure that can handle plenty of climbing action!
Cut, Prime, and Attach Climbing Wall Plywood Panels
Although cutting the plywood panels to fit your climbing wall frame takes careful measurement, it’s a straightforward step that sets the foundation for a secure and functional climbing surface. First, cut your plywood panels accurately to match the framing dimensions.
Next, prime the surface with two to four coats of high-quality acrylic primer, allowing each coat to dry thoroughly.
Before attaching, drill a grid of 7/16-inch holes from the back, spaced every 4 inches with a 2-inch offset, to hold T-nuts without chipping the front surface. This part is important to keep your wall looking nice and clean.
Finally, attach the panels to the framing using 3.5-inch screws, starting at the bottom and working upward for stability.
- Use chalk lines and a straightedge to mark drill points precisely.
- Drill holes from the back to maintain a clean hold surface.
- Secure panels firmly to framing for a sturdy climbing wall.
Set Climbing Holds and Prepare for Safe Climbing
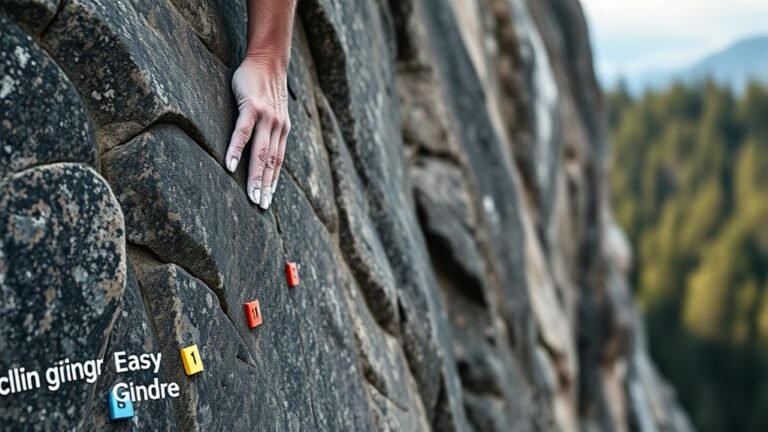
After securing the plywood panels firmly to your climbing wall frame, you’re ready to start attaching the climbing holds. Begin by drilling holes evenly spaced in a grid pattern—every 8 inches works well—to install T-nuts securely on the back side. This setup maximizes your options for hold placement.
Attach each climbing hold using bolts that pass through the pre-drilled holes, fastening them tightly with the appropriate hardware and T-nuts. Use an Allen wrench or socket tool to make sure bolts don’t loosen or spin during use.
Arrange holds thoughtfully to create clear routes, mixing beginner and advanced placements for varied challenges. It’s a good idea to regularly inspect all hardware and holds, tightening or replacing any loose parts to keep things safe.
This careful setup guarantees a secure, enjoyable climbing experience. Take your time, and have fun building those routes!
Frequently Asked Questions
How Do I Maintain and Clean My Home Climbing Wall?
You should regularly wipe down holds with a brush and mild soap to remove chalk and dirt. Tighten bolts often, inspect for damage, and avoid harsh chemicals to keep your climbing wall safe and clean.
What Are the Best Climbing Shoes for Beginners?
Did you know 80% of beginners struggle with poor shoes? You’ll want comfortable, durable climbing shoes like the La Sportiva Tarantulace or Scarpa Origin, which offer great support and grip without breaking your budget.
Can I Install a Climbing Wall Outdoors Safely?
Yes, you can safely install an outdoor climbing wall by using weather-resistant materials, securing it properly to a sturdy structure, and regularly inspecting for wear or damage. Always prioritize safety gear and proper fall protection.
How Do I Improve My Climbing Technique at Home?
You can improve your climbing technique at home by practicing foot placements, focusing on body positioning, and using different holds. Record yourself, analyze your moves, and incorporate core exercises to build strength and control. Keep challenging yourself!
What Are Common Mistakes to Avoid When Climbing Indoors?
You’ll want to avoid poor foot placement, over-gripping, ignoring rest days, and neglecting warm-ups. Don’t rush moves or rely solely on upper body strength. Focus on technique, pacing, and balanced training to climb smarter indoors.
Conclusion
By following these simple steps, you can create a safe, sturdy climbing wall right at home. Imagine Sarah, who turned her garage into a climbing haven—she started with careful planning and ended up with a fun, challenging space for her kids.
With the right tools, materials, and safety measures, you’ll enjoy climbing anytime without leaving home. So grab your gear, and get ready to climb higher every day!
Building a home climbing wall is easier than you think. It’s all about good planning, choosing the right materials, and making sure it’s secure and safe. Whether you want a fun project for the family or a serious training spot, these DIY plans will guide you step-by-step. Soon, you’ll have a personalized climbing wall that brings adventure and fitness right to your doorstep. Get started today and watch your climbing skills soar!