DIY Home Climbing Wall: Build It in 5 Simple Steps
You can build your own climbing wall at home by first choosing a spacious, stable location. Ideally, find an 8×8 foot wall that’s slightly inclined for added safety and better climbing angles.
This DIY home climbing wall project is a great way to bring the fun and challenge of climbing indoors without needing a gym membership.
Next, gather all the materials you’ll need like plywood, 2x4s, T-nuts, and climbing holds, along with basic tools.
Having everything ready before you start makes the building process smoother and more enjoyable.
Then, build a sturdy frame and securely attach your climbing panels to it.
Make sure everything is tight and stable—that’s key for safe climbing.
After that, install the holds in fun, varied patterns to create interesting routes.
Don’t forget to add padding at the base to protect your landing zone.
Finally, keep your wall well-maintained to ensure safe and enjoyable climbs every time.
Explore these steps in detail to get started easily and confidently.
Key Takeaways
– Select an 8×8 foot space with a 20-30° incline and safety zones like landing mats for effective and safe climbing.
It’s important to pick the right spot first to make sure you have enough room and safety measures in place.
– Build a sturdy frame using 2×4 lumber with vertical supports spaced 16 inches apart for stability.
This frame will be the backbone of your wall, so make it solid and strong.
– Attach exterior-grade ¾-inch plywood panels securely to the frame using screws at regular intervals.
Make sure the panels are firmly in place to hold up against climbing pressure.
– Install climbing holds using socket-head bolts, arranging them by color to create varied routes.
Mix it up with colors to keep your routes fun and challenging.
– Place and secure crash pads around the landing area, regularly inspecting and maintaining all safety equipment.
Safety first! Keep your gear in good shape and always check before climbing.
Plan Your Climbing Wall Location and Design
Before you start building, choose a location with enough space and stable anchoring, like a garage corner or backyard. Your climbing wall’s home needs to support its size and weight securely.
Plan the design carefully—an 8×8 foot wall with a 20-30 degree incline works well for training and safety. Also, think about the space around the wall to include proper safety zones, such as landing mats or crash pads. These help prevent injuries.
Plan an 8×8 foot wall with a 20-30° incline and safety zones like mats to prevent injuries.
Make sure to consider accessibility for all skill levels, including kids and adults. For materials, opt for lightweight but durable options like plywood and 2x4s to build a sturdy frame.
This setup not only ensures safety but also makes it easier to assemble, disassemble, or relocate your climbing wall when needed. It’s all about making the process as smooth and safe as possible!
Gather Materials and Tools for Your Climbing Wall
While gathering materials and tools for your climbing wall, focus on durability and compatibility. Choose exterior-grade plywood, ideally ¾-inch thick, to guarantee a strong climbing surface.
Select hardware that matches your holds, like ⅜”-16 T-nuts and ¼”x16 Allen head bolts, for secure attachment. You’ll need reliable tools including a drill with appropriate bits to install hardware neatly.
Here’s what to gather:
- Plywood sheets cut to your desired size, such as 8×8 feet
- Hardware: T-nuts, bolts, lag screws for attaching holds
- Tools: drill with 7/16” or ½” bits, screwdriver bit, hammer, sandpaper
- Materials for framing: wooden 2x4s, washers, screws for support
Sourcing reclaimed lumber and hardware can save money without sacrificing quality. It’s a smart way to keep costs down and still get the job done right.
Build a Strong Climbing Wall Frame and Attach Panels
Since a solid frame is essential for safety and durability, start by constructing it with 2×4 lumber arranged into a right-angled square. This climbing wall frame forms your support structure, so make certain it’s square and sturdy.
Next, install vertical supports inside the frame, spacing them 16 inches apart to evenly distribute weight and boost stability. Attach horizontal braces between these supports using screws and nails, which prevents wobbling and increases lateral strength.
For the plywood panels, mount them onto the frame with 3.5-inch screws, drilling at regular intervals to ensure secure attachment. Using 16D nails or 3-inch screws for the frame joints guarantees a solid hold.
Install Climbing Wall Holds and Plan Fun Routes
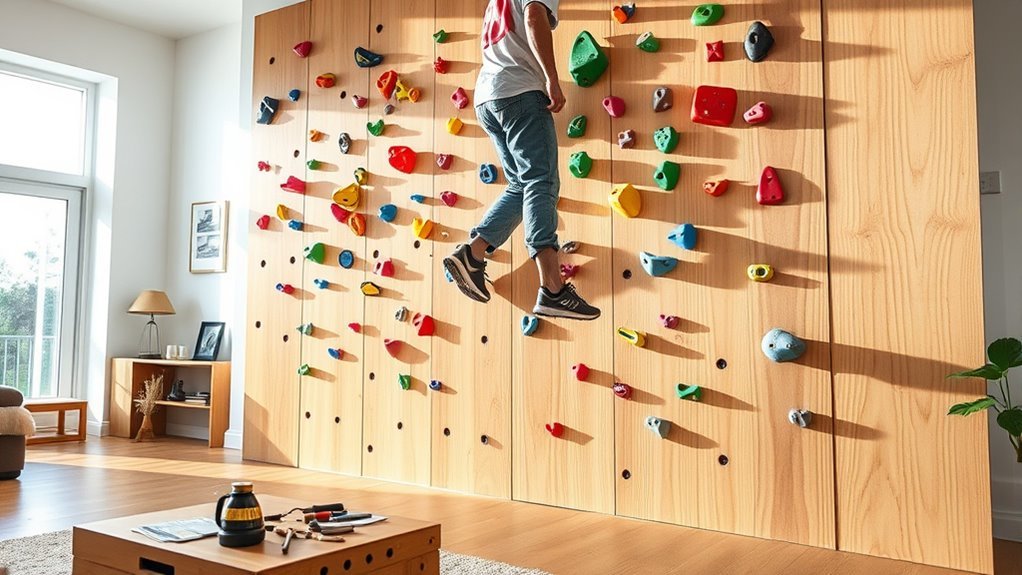
With your climbing wall frame built solidly and panels firmly attached, you can now start installing the climbing holds. To attach holds securely, use an Allen wrench with socket-head bolts, ensuring the bolt length matches the hold thickness—usually 2-3 inches.
Proper hold placement is key to creating engaging routes. Here’s how to get started:
Proper hold placement is essential for crafting engaging climbing routes that challenge and excite climbers.
- Arrange holds in an initial random pattern to explore different grips.
- Use color-coded holds to differentiate routes and support route design.
- Adjust hold placement over time to increase difficulty and variety.
- Regularly check and tighten bolts to keep climbing holds stable and safe.
Keep Your Climbing Wall Safe With Padding and Maintenance
To keep your climbing wall safe, you’ll need proper padding and regular maintenance. Start by placing crash pads directly under the wall, ensuring they cover the entire landing zone—ideally over 5 feet wide.
Make sure to secure mats with screw eyes or S-hooks to prevent shifting during use. This really helps with fall prevention and keeps things stable.
Don’t forget to add extra padding around edges and changeovers to reduce injury risks. It’s those little details that can make a big difference.
You should also regularly inspect your padding for wear or damage. Replace anything that compromises shock absorption right away.
Keeping your padding clean and free of debris is super important, too. It maintains grip and cushioning effectiveness, so your landing stays safe.
Frequently Asked Questions
How Do I Choose the Best Climbing Holds for Beginners?
You’ll want holds that’re large, comfortable, and offer good grip. Choose varied shapes to build technique but avoid tiny crimps. Look for textured, durable materials that feel secure and help you build confidence safely as you climb.
Can I Add Overhangs or Features to My Climbing Wall?
You can add overhangs or features to your wall, like a sculptor shaping clay. Just make sure your frame supports the extra weight and angles, so your wall stays sturdy and safe as you challenge yourself with new climbs.
What Is the Ideal Wall Angle for Different Skill Levels?
You’ll want a vertical wall (90°) for beginners, a slight overhang (100°-110°) for intermediate climbers, and steeper angles (110°-120°) or more for advanced climbers to challenge strength and technique effectively.
How Do I Prevent Noise From the Climbing Wall in My Home?
Did you know 70% of home noise complaints come from impact sounds? To prevent noise, you should install rubber padding underholds, use soundproofing mats, and add acoustic panels around the wall to keep your climbs quiet and enjoyable.
Are There Any Legal or Insurance Considerations for a Home Climbing Wall?
Yes, you should check local building codes and zoning laws, and inform your insurance company about the climbing wall to guarantee coverage. You might need liability coverage additions to protect against potential injuries or damages.
Conclusion
Building your own climbing wall might seem like a big project, but with just five simple steps, you’ll have a fun, challenging space right at home. It’s easier than you think once you break it down.
While it’s impressive to create something sturdy and safe, don’t forget the joy and freedom climbing brings. It’s all about finding that balance between planning and play.
When you combine careful planning with playful adventure, your wall becomes more than just wood and holds. It turns into your personal escape—where effort meets excitement every time you climb.
So, whether you’re a beginner or a seasoned climber, building a DIY home climbing wall adds a thrilling, hands-on way to stay active. It’s a rewarding project that brings fun, fitness, and a sense of accomplishment right to your doorstep.