How to Build a Climbing Wall in 5 Essential Steps
To build a climbing wall in five essential steps, start by choosing a flat, sturdy wall with enough space. Make sure to locate studs for proper support—that’s key for safety and stability. Having a solid foundation is the first step toward a great climbing wall.
Next, gather ¾-inch plywood and 2×4 lumber to build a strong frame. This frame will hold everything together and support the climbing surface. It’s important to get quality materials so your wall lasts.
Carefully drill a grid of holes on the plywood for T-nuts. Then, hammer T-nuts in and bolt on climbing holds. This setup lets you customize your routes and makes climbing fun.
Finally, check all fastenings for safety and add mats below. Padding helps prevent injuries if someone falls. And if you want, you can explore more tips to perfect your setup and keep it safe.
Plan Your Wall and Select a Location
Before you begin building your climbing wall, make sure to choose a large, flat wall space that’s free of obstructions and strong enough to support the weight of climbers and equipment. Start by taking precise measurements of the wall, aiming for widths in multiples of four feet to simplify plywood installation.
Use a stud finder to locate wall studs, typically spaced 16 inches apart, ensuring your climbing holds and plywood have solid support. Check the location for any existing outlets or vents that might affect installation.
Also, consider the space around the wall for safe climbing and landing zones, allowing enough room for crash pads or mats. Careful planning of the wall’s location and measurements sets a strong foundation for a secure and functional climbing wall.
Gather Materials and Prepare the Frame
Once you’ve chosen the perfect spot and measured your wall, gather durable materials to bring your climbing wall to life. Start by selecting ¾-inch exterior grade plywood cut to your exact measurements.
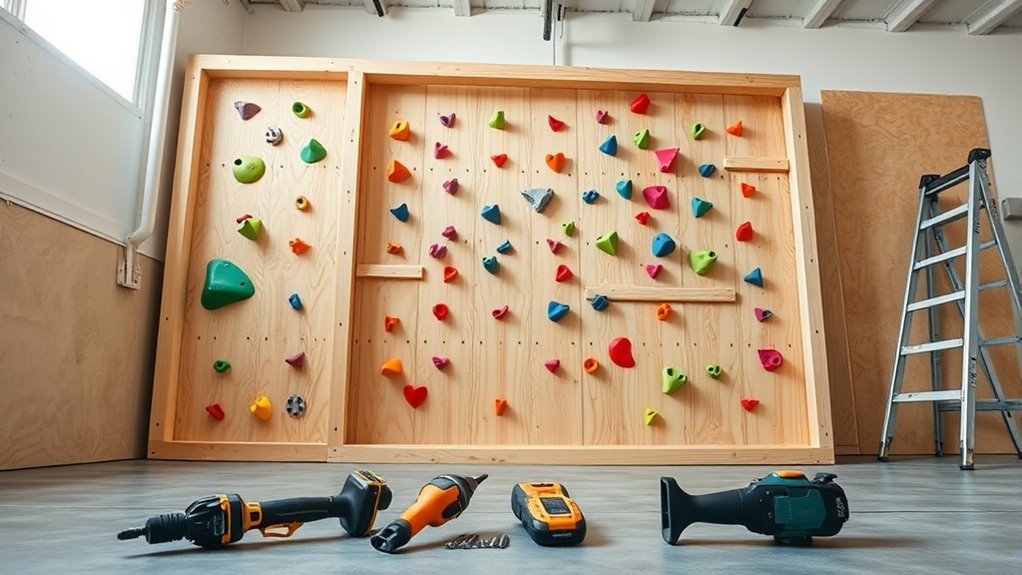
Build a sturdy frame using 2×4 lumber, spacing vertical supports every 16 inches to align with wall studs or a solid support structure. Secure the frame with metal L brackets and screws, making sure to use a level to check that everything is square and plumb.
Before attaching the plywood, do some careful marking for bolt holes to install T-nuts later. Here’s what you’ll need:
- ¾-inch exterior grade plywood sheets
- 2×4 lumber for the frame
- Screws and metal L brackets for support
- Level and measuring tools for precise marking
This prep guarantees a strong, stable climbing wall frame. Pretty straightforward, right? Just take your time, and you’ll have a solid base ready to go!
Cut and Drill the Plywood Surface
As you prepare to cut and drill the plywood surface, carefully measure and mark the hole grid pattern using a chalkline or straightedge to match your design. This guarantees precise holes alignment for your climbing wall.
Start by drilling small pilot holes from the back of the plywood with a drill bit slightly smaller than the T-nuts to prevent tear-out. Then flip the plywood and drill larger holes from the front using a spade drill bit matching the diameter of your T-nuts. This assures a snug fit.
After drilling, smooth the edges of each hole with sandpaper or a file to avoid splinters that could damage holds or injure climbers. Accurate drilling and consistent holes alignment are vital for seamless T-nut installation and hold attachment later.
Install T-nuts and Attach Climbing Holds
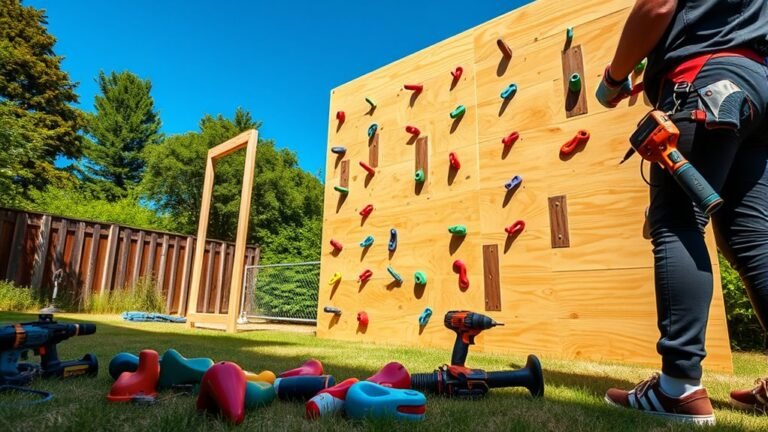
How do you securely fasten climbing holds to your wall? Start by installing T-nuts on the back of the plywood through your pre-drilled holes. These T-nuts create a strong anchor point to attach climbing holds using bolts.
Follow these steps for proper installation:
Follow these steps for proper installation and create a secure, adjustable climbing wall you’ll love.
- Place padding behind the back of plywood to protect and ease T-nut insertion.
- Hammer or screw T-nuts flush into the drill holes, ensuring prongs are fully seated.
- Arrange a grid of holes to allow versatile hold placement and route setting.
- Attach climbing holds by inserting bolts through the holds into the T-nuts, tightening with an Allen wrench.
This method guarantees a secure, adjustable climbing surface ready for your next challenge. Easy, right? Just take it step by step, and you’ll have your wall set up in no time!
Ensure Safety and Final Adjustments
Before you start climbing regularly, make sure you double-check every bolt, hold, and fastener to confirm they’re tight and properly seated. Conduct thorough hold inspection using reliable inspection tools to spot any loose or damaged parts.
Perform safety checks by testing the wall with climbers of different skill levels and make final adjustments as needed. Don’t forget surface smoothing—sand any rough edges or splinters to prevent injuries.
Install adequate fall protection like crash pads or gymnastics mats beneath the wall. Establish a maintenance schedule that includes regular hardware re-tightening and timely hold replacement to keep the wall safe over time.
Consistent attention to bolt tightening and upkeep will ensure your climbing wall remains secure and enjoyable for every session.
Conclusion
Now that you’ve built your climbing wall step by step, aren’t you excited to test your new creation? With careful planning, sturdy materials, and proper safety checks, you’ve set yourself up for countless climbing sessions right at home.
Remember, each hold you install is a new challenge waiting to be conquered. So, grab your gear, invite some friends, and enjoy the thrill of climbing anytime you want—your wall is ready for you!
Building a climbing wall is not just a project; it’s an investment in your fitness and fun. Whether you’re a beginner or a seasoned climber, having a DIY climbing wall at home means you can practice, improve, and enjoy climbing whenever the mood strikes.
So, get ready to scale new heights and make the most of your homemade climbing wall!