How to Make a Climbing Wall in 3 Simple Steps
First, measure your available space carefully and sketch a plan, leaving enough clearance for safety. Having a clear layout is key when building a climbing wall at home. This helps you visualize the size and shape before you start.
Next, build a sturdy frame using 2×4 lumber with vertical supports, then attach plywood sheets securely.
Adding a textured coating on the plywood is important for grip and safety. You want the surface to feel solid and easy to hold onto while climbing.
Finally, arrange climbing holds spaced about 12-14 inches apart, adjusting for skill and reach. This simple approach gets your wall ready to climb quickly.
And remember, there’s plenty more to explore when it comes to customization and safety features!
Key Takeaways
- Measure your available space and plan the wall size and orientation for safety and usability.
- Build a sturdy frame using 2×4 lumber with vertical supports spaced 16 inches apart.
- Attach plywood sheets securely to the frame to create a solid climbing surface.
- Drill holes and install T-nuts for attaching holds later, ensuring the surface is textured for grip.
- Arrange climbing holds spaced 12-14 inches apart. Adjust the height based on skill level and reach.
Design Your Climbing Wall to Fit Your Space
Before you begin building, measure your available space carefully—height, width, and depth—to determine the maximum size of your climbing wall. With accurate measurements, you can plan a design that fits perfectly and maximizes your area.
Accurately measuring your space ensures your climbing wall fits perfectly and makes the most of your area.
Space planning is essential; decide if your wall will be vertical, angled, or an overhang based on your space and climbing goals. Sketch a scaled plan that includes key features like supports and designated climbing routes.
Make certain to leave at least 3-4 feet of clearance around the wall for safe movement. Also, consider integrating existing structures such as walls or beams into your design to simplify construction and add stability.
Thoughtful planning ensures your climbing wall is both functional and safe. It’s worth taking the time upfront to get it right!
Build a Sturdy Frame and Attach a Textured Surface
When you build the frame, use 2×4 lumber arranged in a right-angled square with five vertical supports spaced 16 inches apart to guarantee stability. Secure horizontal bracing between supports with nails or screws to enhance rigidity.
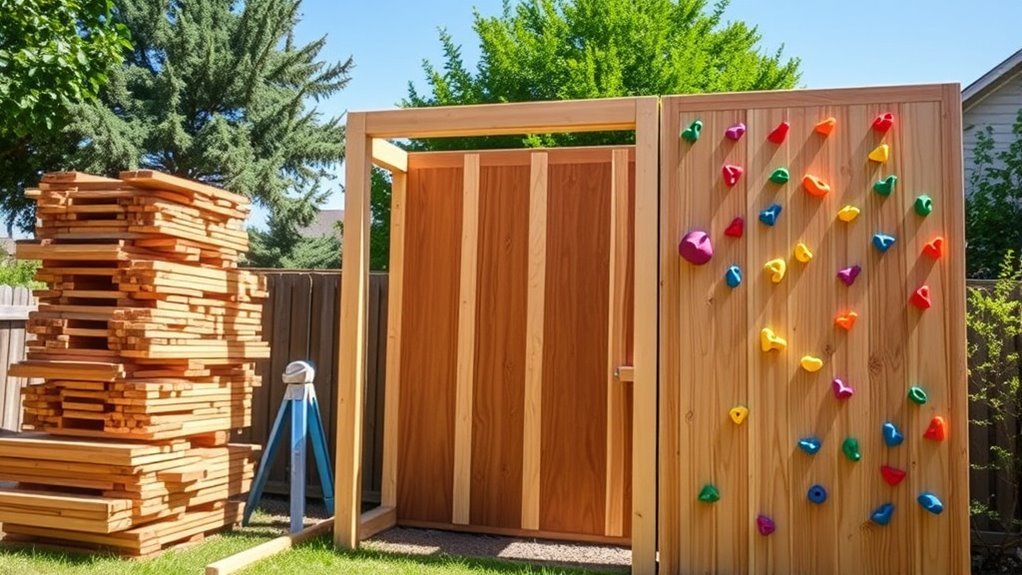
Next, attach two 4×8-foot plywood sheets to form an 8×8-foot climbing surface. Make sure the plywood aligns perfectly and fasten it with 3.5-inch screws.
To improve grip and durability, apply a textured paint or coating on the plywood surface. Here’s what to focus on:
- Use sturdy 2×4 lumber for the frame
- Space vertical supports 16 inches apart
- Attach plywood sheets securely with screws
- Apply textured coating for better grip
- Drill holes and insert T-nuts for future holds
This assures your climbing wall has a strong frame and a textured surface ready for climbing.
Plan and Install Climbing Wall Holds for Fun, Safe Routes
Although placing climbing holds might seem straightforward, planning their arrangement carefully guarantees both fun and safety. Involve children by observing their reach and comfort zones to create accessible routes.
Use painter’s tape or chalk to temporarily install holds spaced 12-14 inches apart. Adjust hold heights based on a child’s elbow-to-wrist distance and skill.
Organize holds by size and type—large for beginners, smaller or slopers for advanced climbers. Regularly reconfigure holds to keep routes fresh and safe.
| Hold Size | Skill Level | Spacing |
|---|---|---|
| Large | Beginner | 12-14 inches |
| Medium | Intermediate | 12-14 inches |
| Small | Advanced | 12-14 inches |
| Sloper | Advanced | 12-14 inches |
| Mixed Types | All Levels | Adjustable |
Frequently Asked Questions
What Tools Do I Need to Maintain the Climbing Wall?
You’ll need a wrench or Allen keys to tighten holds, a drill for securing loose panels, a screwdriver, and a brush to clean grips. Regularly inspect bolts and replace worn holds to keep your climbing wall safe and sturdy.
How Do I Safely Clean Climbing Holds?
Did you know 80% of climbing injuries relate to slippery holds? You should soak holds in warm, soapy water, scrub gently with a brush, rinse thoroughly, and let them dry completely to keep your climbing safe and grippy.
Can I Install a Climbing Wall Outdoors?
Yes, you can install a climbing wall outdoors, but you’ll need weather-resistant materials and proper sealing to protect it from rain and sun damage. Make sure to anchor it securely and consider safety padding underneath for protection.
What Age Is Appropriate for Using a Climbing Wall?
When it comes to age, you can start kids as young as three with easy grips. Don’t bite off more than you can chew—always match difficulty to their skill, ensuring safety and fun for all ages.
How Do I Prevent Injuries While Climbing?
You can prevent injuries by always warming up, wearing proper gear, and checking holds for stability. Don’t climb beyond your skill level, use a spotter or crash pads, and listen to your body to avoid overexertion.
Conclusion
Now that you’ve got the blueprint, building your climbing wall is as exciting as tuning a vintage radio. You’ll create a space that fits your room perfectly, build a strong frame, and install holds that challenge and inspire.
With every grip and step, you’ll feel the thrill of adventure right at home. So grab your tools, channel your inner pioneer, and start climbing toward your next great adventure!
Building a climbing wall is a fun and rewarding project that lets you customize your own climbing experience. From designing the perfect layout to securing sturdy holds, every step brings you closer to an awesome workout space. Ready to transform your room? Let’s get climbing and make your dream wall a reality!