
How to Clean Climbing Skins in 5 Easy Steps
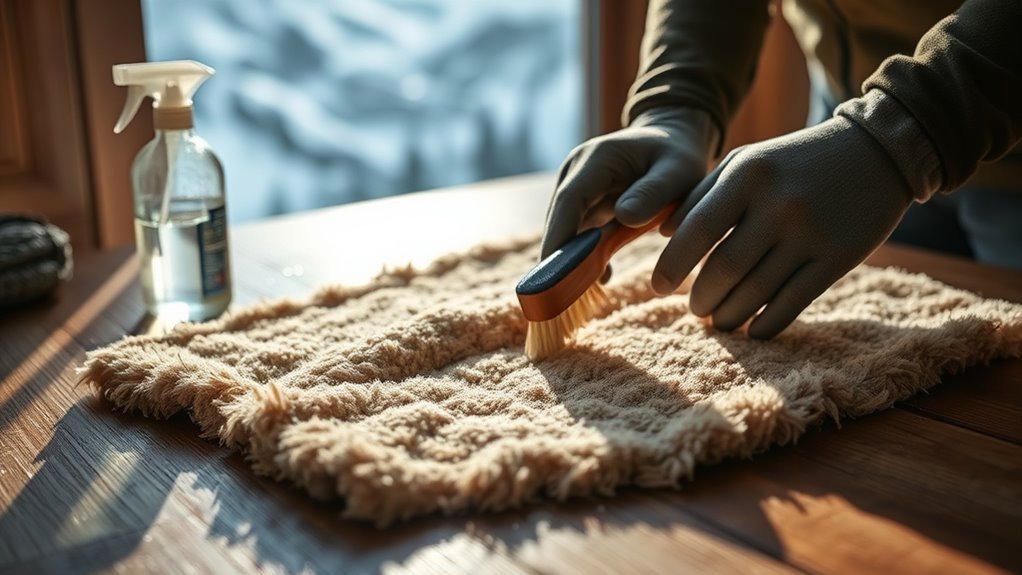
To clean your climbing skins, start by gently brushing off any loose debris and snow. Avoid using sharp tools that might damage the fabric.
Next, carefully separate the skins by pulling at the edges. If the glue feels stubborn, warming it slightly can help make this easier and safer.
Then, take a damp cloth with mild soap to clean the adhesive surface. Make sure to remove all dirt and wax for the best results.
After cleaning, let the skins dry completely in a well-ventilated area. Keep them away from direct heat sources to avoid damaging the glue.
Finally, give your skins a good inspection to ensure they’re clean and ready. Once satisfied, fold them glue-to-glue for proper storage.
Keep going to uncover more tips for maintaining your skins and prolonging their life!
Remove Loose Debris and Snow
Before storing or cleaning your climbing skins, remove any loose debris and snow by gently brushing them with a soft brush or your ski edges. You’ll want to gently remove loose snow and dirt to keep the adhesive side clean and effective.
Tap or shake the skins lightly to dislodge small stones, pine needles, or other debris stuck in the fabric. Avoid using sharp tools or excessive force, as that can damage the skins or weaken the glue.
Once the larger debris is cleared, wipe the base with a damp cloth to remove any remaining dirt. This simple step prevents contamination of the adhesive, helping your skins maintain ideal grip and longevity for your next adventure.
Separate Skins Carefully
When you separate your climbing skins, grasp each edge firmly and pull them apart gently to avoid tearing or damage. Use your legs and body weight to ease the skins apart, especially if the adhesive side feels stiff in cold weather.
Avoid pulling on the fabric to prevent stretching or damage to the skin material. If the skins resist, warm the glue edges with your hands or a cloth to soften the adhesive.
Remember these tips to safely separate and store your skins:
- Peel skins apart on a flat, stable surface for even separation.
- Never tug directly on the fabric or glue area to avoid damage.
- Warm stubborn adhesive edges slightly before pulling to prevent tearing.
Proper care when separating skins helps maintain their adhesive quality and lifespan. So, take your time and handle them with care!
Clean the Adhesive Surface
Since dirt and debris can weaken your climbing skins’ grip, you should gently clean the adhesive surface using a damp cloth or mild soap and water. Avoid harsh chemicals or solvents because they can damage the adhesive and reduce its tackiness.
Remove dirt, pine needles, wax buildup, and any grime carefully to keep your skins sticking well. If dirt is stubborn, lightly scrub the adhesive side with a soft sponge or cloth—don’t soak it.
After cleaning, make sure to dry the adhesive surface thoroughly before storing or reapplying your skins. Keeping the adhesive clean and dry ensures your climbing skins maintain excellent grip and perform reliably on every outing.
Dry Skins Properly
Although cleaning your climbing skins is vital, you won’t get the best results unless you dry them properly. After washing, it’s essential to dry your skins thoroughly to prevent damage and maintain their performance.
Here’s how to ensure your skins dry right:
- Hang your skins in a well-ventilated area to drip dry completely.
- Lay them flat on a clean, dry towel to absorb excess moisture and promote even drying.
- Avoid direct heat or sunlight, which can harm the adhesive and fabric.
Make sure your skins are fully dry with no moisture left on the adhesive or fabric side. Only fold them with adhesive sides together once they’re completely dry to keep their tackiness intact and prevent sticking during storage.
Inspect and Store Skins
Once your skins are completely dry, take a moment to inspect them closely for any dirt, debris, or glue residue that could affect their performance. Check both the ski base side and the adhesive side to make certain they’re clean and ready for your next adventure.
Inspect your skins thoroughly once dry to ensure they’re free of dirt or glue residue for optimal performance.
When cleaning skins, removing contaminants is vital to maintain grip and glide. To store your skins properly, fold them glue-to-glue, which helps reactivate the adhesive and protects it from dust or damage.
Always keep them in their original stuff sack or a dedicated storage bag. Store your skins in a cool, dry place away from direct sunlight and heat sources, as these can degrade the adhesive.
Proper inspection and storage will extend your skins’ lifespan and ensure consistent performance on the mountain. So, take the time—it really pays off!
Conclusion
By following these five simple steps, you’ll keep your climbing skins in top shape for longer. Did you know that properly maintained skins can last up to three times longer than neglected ones?
That means more reliable grip and safer ascents every time you hit the slopes. Taking just a few extra minutes to clean, dry, and store your skins correctly pays off big in performance and durability.
Keeping your climbing skins clean not only improves their grip but also extends their lifespan significantly. So, make it a habit to care for your skins after each adventure. With clean climbing skins, you’re set for safer, smoother climbs every time you head out. Remember, a little effort goes a long way in ensuring your climbing skins stay effective and ready for your next ascent!